Add Music to Your Website
So, you've decided to add music to your website! Good. You've come to the right place. There are a number of ways to do this which require very little knowledge of HTML and very few lines of code. Most modern browsers will recognize and play audio files (.wav, .mp3, .mid, etc.) and supply a simple player with basic controls.
Cincopa allows you to easily add music to your website by simply embedding a dynamic music player directly into your pages and adding menus, playlists, even album art (or add your own images). Musicians and music lovers alike can benefit from advances in audio and internet technologies designed to enrich the web with fast, highly compressible music downloads and interactive audio players.
Take a Look at Cincopa's Audio and Podcast Player Templates (Demos):
Audio Playlist Templates
-
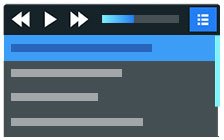
Podcast/Audio player
Audio/Podcast audio gallery with customizable colors design and controls with branded player, with or without a playlistUSE THIS TEMPLATE -
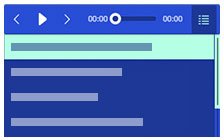
Responsive blue audio player with playlist
Fully responsive audio player, innovative, customizable and modern lookUSE THIS TEMPLATE -
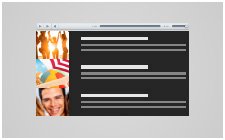
Responsive HTML5 music audio with playlist
Responsive HTML5 audio player with playlist, simple, innovative, customizable, fully responsive, touch supportUSE THIS TEMPLATE -
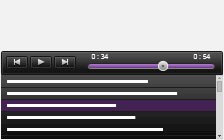
Responsive HTML5 audio player with playlist dark background
Responsive HTML5 audio player with playlist, simple, innovative, customizable, fully responsive, touch support, dark backgroundUSE THIS TEMPLATE -
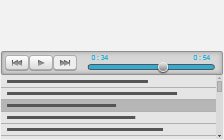
Responsive HTML5 audio player with playlist bright background
Responsive HTML5 audio player with playlist, simple, innovative, customizable, fully responsive, touch support, bright backgroundUSE THIS TEMPLATE -
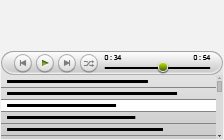
Responsive HTML5 audio rounded player with playlist
Responsive HTML5 audio player with playlist, simple, innovative, customizable, fully responsive, touch support, rounded playerUSE THIS TEMPLATE -
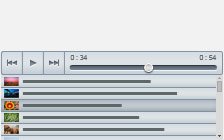
Responsive HTML5 audio player with playlist with images
Responsive HTML5 audio player, simple yet innovative, customizable, fully responsive, touch support, playlist with imagesUSE THIS TEMPLATE -

Audio player with large cover
Large cover audio player, useful for pictures, text, covers, responsive, many options for pro usersUSE THIS TEMPLATE -
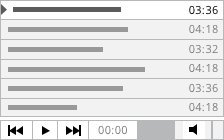
Smooth Audio Player Light
Simple and responsive audio player with minimal design, expanded playlist, bottom control pannel.USE THIS TEMPLATE -
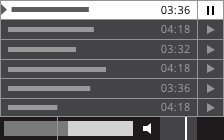
Smooth Audio Player Silver
Audio player with playlist and simplified control bar, smooth and adaptive design that integrates with all devices and web browsers.USE THIS TEMPLATE -
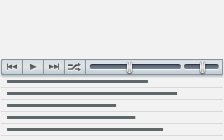
Responsive tiny audio player with playlist
Small audio player with list underneath, responsive, ergonomic, narrow control barUSE THIS TEMPLATE -
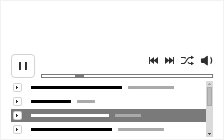
Bandcamp audio player
Bandcamp audio player, simple and fast to create, SEO friendly, detailed playlistUSE THIS TEMPLATE -
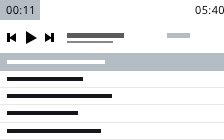
Baroque audio player
Straight out audio player with a fresh, elegant and clean design, SEO friendlyUSE THIS TEMPLATE -
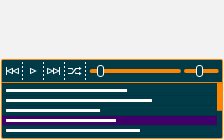
Rounded audio player
Elegant HTML5 based audio player, modern design, intuitive interface, responsive with touch screen supportUSE THIS TEMPLATE -
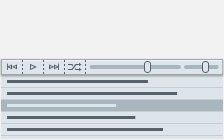
Minimalist audio player
Minimalist audio player with fresh and elegant design, responsive layout, full control bar, customizable coloursUSE THIS TEMPLATE -
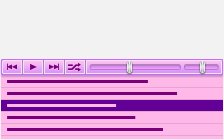
Tiny audio player with playlist
Neat design audio player, very little space used, fully customizable playlist, user friendly, easy to manageUSE THIS TEMPLATE
You can easily customize the template using the advanced settings or with CSS edit.
Audio Player Templates
-
Responsive HTML5 audio player
Fully responsive HTML5 audio player, great layout with touch support, attractive apppearanceUSE THIS TEMPLATE -
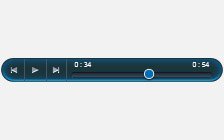
Responsive HTML5 dark rounded audio player
Fully responsive HTML5 audio player, great layout with touch support, attractive apppearance, dark rounded playerUSE THIS TEMPLATE -
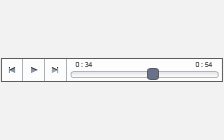
Responsive HTML5 square white audio player
Fully responsive HTML5 audio player, great layout with touch support, attractive apppearance, square, white playerUSE THIS TEMPLATE -
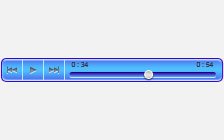
Responsive HTML5 retro blue audio player
Fully responsive HTML5 audio player, great layout with touch support, attractive apppearance, retro blue playerUSE THIS TEMPLATE -

Sonic Uno
Minimalist single button audio player with fresh and elegant design,customizable coloursUSE THIS TEMPLATE
You can easily customize the template using the advanced settings or with CSS edit.
Podcast Templates
-

Episodes Podcast
Awesome podcast template with boxed design and pop-up audio playerUSE THIS TEMPLATE
You can easily customize the template using the advanced settings or with CSS edit.
How to Add Music to Your Website or Blog
If you would simply like to add some background music to your website when the site loads, this can be done by simply embedding an audio gallery somewhere on your page. You can opt-in the autoplay feature to make sure audio will start playing when your page loads.
The Cincopa Media Platform - The Music Embedding Solution for Your Website
With the Cincopa music player you choose a template, upload your files, and let Cincopa automatically generate the code which will produce beautiful, interactive Flash music players compatible with virtually any website or blog. You simply paste the code where you want your player to appear, and you're done.
You can create a free, standalone music player for any website, and it's simple to install and configure on your own website or blog. Cincopa will also host and deliver your files from their own servers, so you won't have to worry that your own host will not be able to handle the space and the bandwidth required. Adding a fully dynamic and interactive music player to your site can be done in three easy steps:
1Choose a template for your music player
Cincopa has seven free music player templates of various sizes to choose from. Customize the size of your music player and playlist window. Preview your music player in a separate window before deciding on a template. Add album art, or add your own images. Offer your music for download, or protect it.
Premium users can remove the Cincopa branding from their music players ("Powered by Cincopa") and choose from several options like autoplay, loop, repeat, and more. Simply choose your template and proceed to the next step. Upload Your Music Files.
2Upload your music files
There are three ways to upload your music files to your Cincopa "cloud" drive.
- Use the web batch upload page for uploading multiple files in any size.
- Use the Windows Desktop Media Agent which will allow you to synchronize the files directly on your PC with the Cincopa server.
- Upload files from direct URL or from Facebook, Instagram, DropBox or Google Drive.
3Copy the generated code and paste it into your website
Once you've chosen your template and uploaded your music, you will then be prompted to choose your implementation. Several options exist at this point, depending on where you would like your music player to appear. You can choose to display your music on virtually any website or blog or as an RSS feed. Pick an option and Cincopa will generate the necessary code for your to copy and paste your player wherever you like.
Upload new music to your player whenever you wish. You won't have to go through the process of creating a new player or generating new code snippets. Just upload your files and they will be added to the player you've already created. You can add or remove files at any time and from anywhere including any PC, mobile device, or PDA once you've synchronized these devices to your Cincopa account. Add Music to Any of Your CMS Blogs or Websites
One of the best features of a Cincopa standalone music player is that you can place it literally anywhere on the web. Once you create your music player and upload your files, the wizard will generate the HTML/Tag code necessary to place it into any web page. If your website or blog was created using a Content Management System (CMS) such as WordPress, Joomla, or Drupal, adding a music player is as simple as adding one line of code to your pages.
Wordpress Music and Audio Player Plugin
Cincopa plugin for WordPress is free and easy to use. It is also one of the most popular WordPress plugins out there and has been downloaded over 400,000 times! It gets high rankings from the WordPress community for its simplicity, extendability, scalability, and top level support. Once the plugin is installed, you can access your Cincopa account and controls directly from your WordPress administration panel. Adding a music player to your pages and posts is as simple as clicking a button in your WordPress formatting toolbar. When editing a page or post, simply click on the 'C' icon in the toolbar, and paste the shortcode you were given when you created your music player into the pop up box. Update the page and you're done.
Joomla! Music Player Extension
Cincopa Joomla extension is just as easy to install and is available from the Joomla Extension Directory (JED). Simply download the .zip file to your local machine and upload it to your Joomla site using FTP or directly through your Joomla administration panel. Once the extension is enabled you will notice a Cincopa button at the bottom of your editing window(s). Clicking on the Cincopa button while editing a page or article will open up the music player creation wizard which will guide you through the set up process: select a template, upload your media, and generate the shortcode which you will insert into your page.
Drupal Music Player Module
Cincopa also makes it easy for you to create and install a music player on your Drupal site directly from your Drupal control panel. Create a new 'site/all/modules/'folder if you haven't done so already (the default modules folder at the top level of your Drupal installation is reserved for Drupal core modules only), upload the .zip file from Cincopa's Home page, and enable it from within Drupal. Create your music player, and embed it into any node with a single line of code generated for you by the Cincopa application. Your Drupal music player can be created, published, and displayed live on your site within minutes!


